Hi there, dear Gcam user! If you're one of those who are finding it difficult to share photos taken using Gcam with Gcam Config app, worry no more. It’s common for most users to encounter problems while trying to upload their demo pictures. This mistake occurs because they don’t understand how the whole thing works or simply end up not adhering to stipulated instructions. We will cover this point in order to avoid common errors associated with this objective, which is posting Gcam photos in Gcam Config application. Well then, let us begin!
Table of Contents
Before starting you need to know why we add Gcam Captured photography sharing features?
On the one hand, the Gcam Config App allows users to get config files which are also called user configurations from across the globe. These files customize your Google Camera settings on specific devices or for certain photographic styles. Unfortunately, without a demo picture other users cannot comprehend how a certain config file operates or performs practically. Therefore, the application includes the option for uploading demo photos captured using Gcam so as other people can view results produced by these types of files easily.
If you share any photo captured with Gcam on your smartphone then you are benefiting other members of this community as well as showing what quality of pictures camera’s performance are affected by any particular configuration file. By so doing it cuts on user time consumption as well as making it interactive and more useful. Nonetheless when submitting images; there are correct processes to be followed and instructions to be observed very strictly.
What You Need to Know Before Sharing Your Image
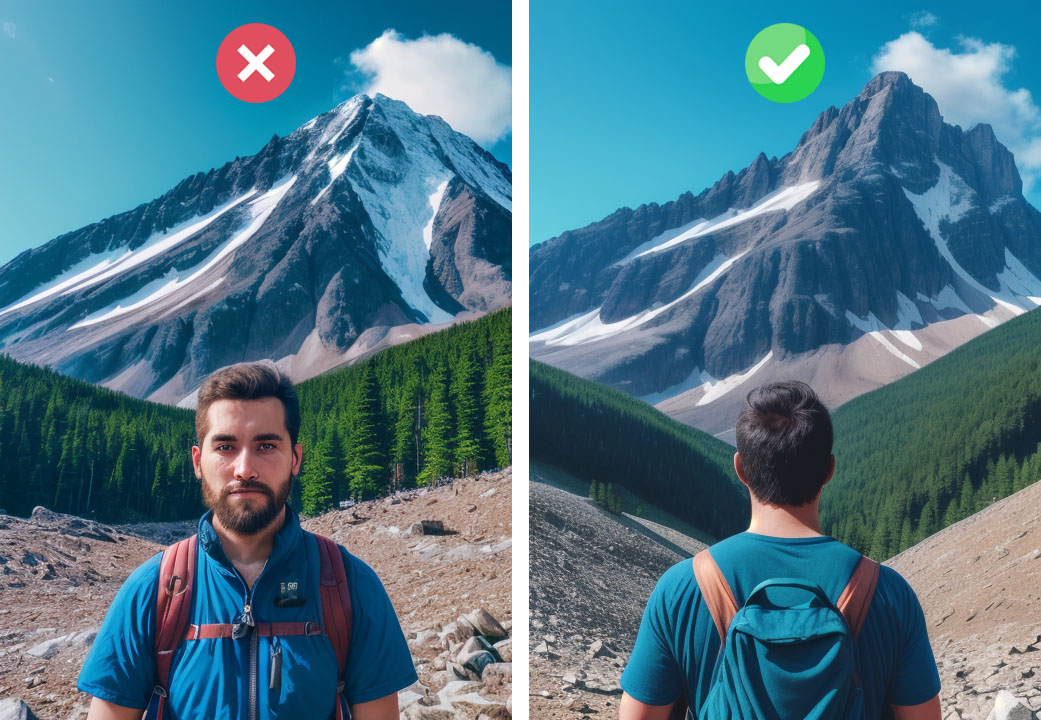
Before moving on, it is key to point out that any picture you upload will be accessible by anyone in all corners of the world. For this reason, you have to be choosy when it comes to sharing photography. Don’t post intimate or sensitive photos like selfies or those showing your face. Just always choose suitable photos that are in line with the objectives of the Gcam Config app.
Here are some vital points you should remember:
- Your uploaded photograph will be shown to the worldwide Gcam community.
- The photo must not contain personal or private material.
- Stick with the rules on sharing acceptable types of images.
What Type of Image Should You Share?
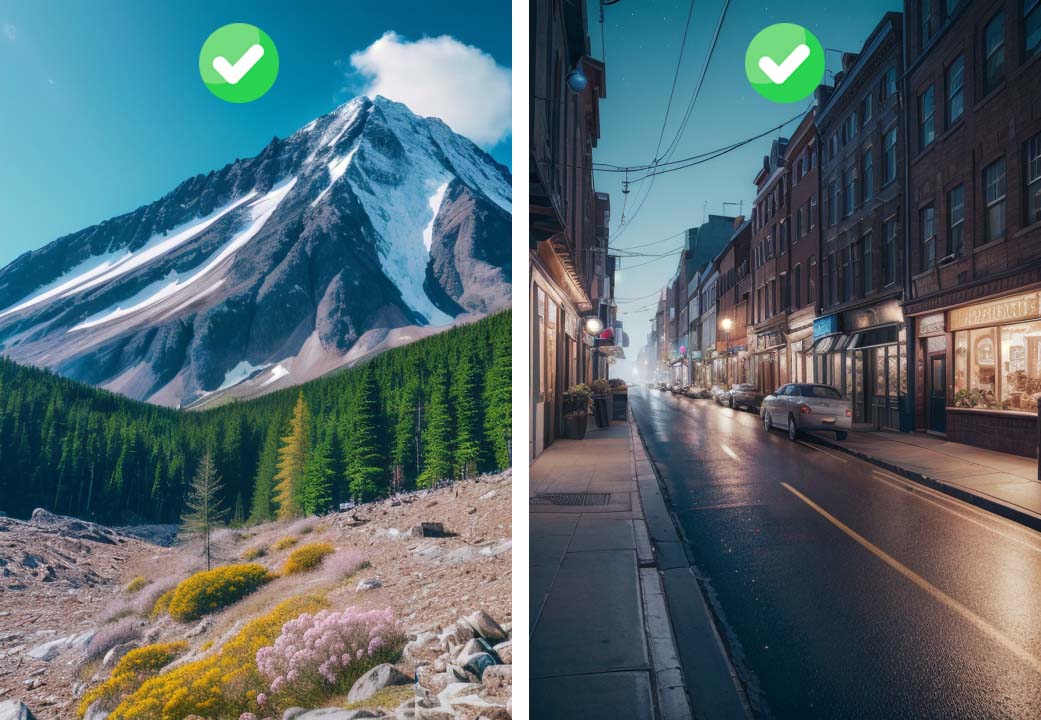
The major aim of the picture upload feature in Gcam Config app is to show how a given config file operates. As a result, your photos must be clearly able to show what the effect of the configuration is on the quality of images. Those photos not meeting this criterion will not be accepted.


Do This:
- File Size: Guarantee that your picture file is less than 10MB. Employ image compression tools to make smaller it if necessary
- Aspect Ratio: For example, the full iconic 4:3 / 16:9 aspect ratio on cameras
- Config Compatibility: A demo image captured with this config file that you are sharing
- Use Gcam: Take photos using your Gcam application.
Don’t Do This:
- Do not use personal pictures: be it a selfie, profile picture, or any image showing faces.
- Do not submit images of low quality: take a good photo that vividly demonstrates how the configuration file impacts the entire image.
- No inappropriate material should be uploaded into this system: including pornography/pornographic materials, violent graphics about crime scenes etc.
Adhering to these guidelines, it is important to make your image useful for the Gcam community and be accepted for display in the app
Tutorial: How to Share Your Gcam-Captured Photography Step-by-Step
Having learned the significance of sharing Gcam-captured photographs and what kind of images one is allowed to upload, this article will carefully take you through the processes involved in uploading of a demo image onto Gcam Config app.
Step 1: Take a Picture with Gcam
- Begin by downloading a config file from the Gcam Config app which doesn’t contain a demo image.
- Open your Gcam app, then load the downloaded config file.
- Using Gcam, take your picture whilst making sure it satisfies all requirements mentioned earlier.
Step 2: Launch the Gcam Config App
- After taking a photo, you should open the Gcam Config app.
- Locate the configuration file that you used for taking that photo.
Step 3: Add Your Demo Image
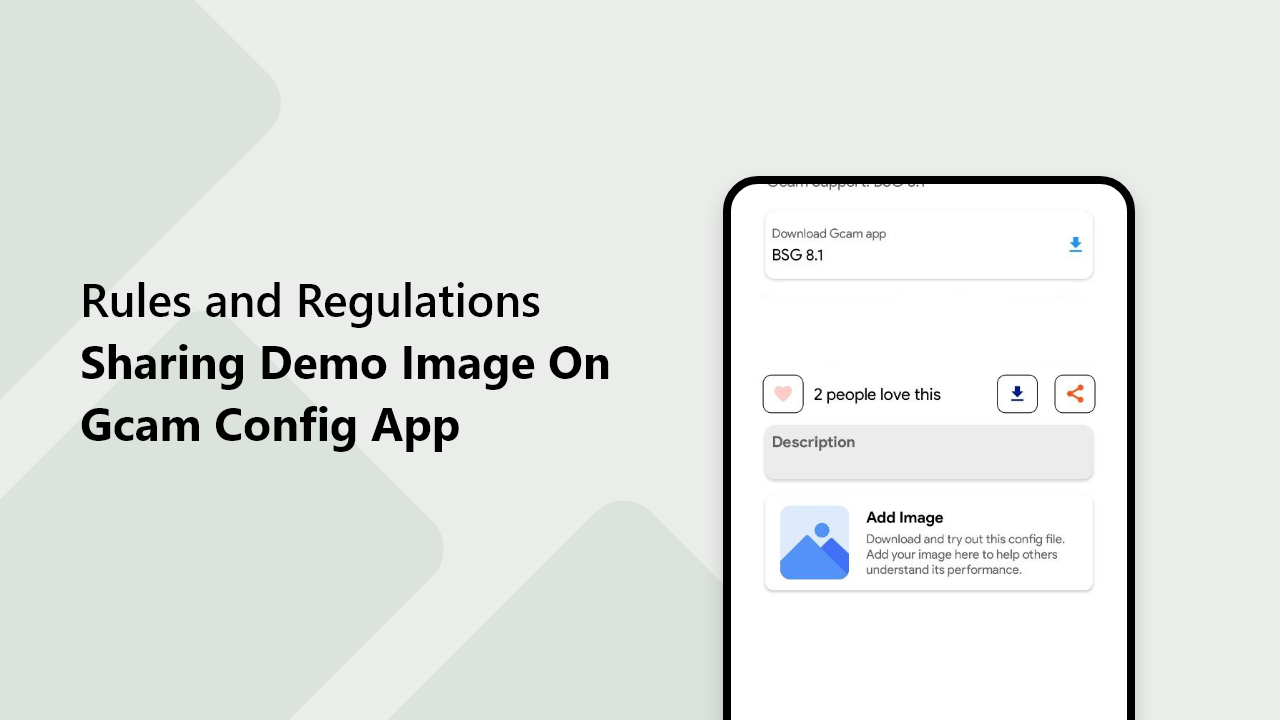
Before inserting your demo image, ensure that you have registered with Gcam Config App. If you do not have an account yet, please create one now. If your account already exists then:
- Select the config file that dosen't have any demo image
- Click on “Add Demo" button on related setup file.
- Now click on "Pick Image", choose an image taken via your device gallery.
Step 4: Forward the Image
Remember to comply with all terms and conditions regarding the sharing of your gcam demo images before uploading the demo image. If you are sure that your demo image does not violate any terms and conditions related to sharing config demo images, go ahead and upload it.
- Click on the “UPLOAD” button located on the top right corner after selecting your image.
- You’re done! The gcam config application has successfully received your demo image.
Once the demo image has been successfully published, an instant we notify you that “Your demo image has been sent for review"
What Happens After You Upload Your Image?
Your picture is taken by the support team and they go through it to make sure it has adhered to all rules and guidelines. Normally this process can take any time between one day or up to three business days.
Once your image is approved as per standards set by the Gcam Config app You’ll get a notification that confirms it is published in the Gcam Config app. If it doesn’t meet the guidelines, you will get a rejection notification indicating that your image was not uploaded. If this happens, try uploading another picture that follows these regulations.
Important Reminders
- Do not upload duplicate images to avoid multiple uploads of the same image.
- Your photo may get published anytime within a few days since it will undergo a review process which takes some time.
- Follow the regulations always to have good submissions when posting your visuals.
Frequently Asked Questions (FAQs)
Can I upload a selfie as my demo image?
If there is a photo of you or your face in the picture, do not use it. The demo image is supposed to reflect exclusively how good Gcam config is for photos.
What file size should my demo image be?
Please keep your demo images’ file sizes below 20MB at most and above nothing
How long does it take for my demo image to be published?
It takes between 1 and 3 days on average for review; once publishing is done we’ll send an confirmation notification on your Gcam Config app.
Can I upload multiple demo images for the same config file?
One demo image that represents your config file performance best is better advised than uploading several of them; please avoid duplicate submissions.
What happens if my image doesn’t follow the guidelines?
Your will received a rejection notice from Customer Support if we do not publish any image that goes against terms and conditons.
Can I delete my demo image after uploading it?
Conclusion
Transferring your taken photos with Gcam to Gcam Configuration app will be very easy and it benefits so many people. Follow all instructions and rules for your picture quality with an explanation of the configuration file in use. Always upload suitable ones in terms of content for review purposes while producing with high resolution as well since only pictures taken by using this particular tool are allowed into this system.
Please spend some moments selecting the perfect image for contributing towards improving Gcam-Configuration usefulness across all users!